
Technical guide · NEXTEKCI School
Poultry housing and equipment guide
Building and equipping an open-sided poultry house in a hot climate
Benchmarks: Cobb (Broiler Management Guide) and the NEXTEKCI School
Download the guide (PDF)
1. Choosing the site and orienting the house
A poultry house is built once and used for years: a mistake in its location or orientation is paid for with every flock. Before laying the first stone, take the time to choose the site carefully.
The right site
- Well-drained land, never in a hollow where water lies during the rainy season.
- A well-ventilated spot where the wind moves freely: avoid sheltered dips and plots surrounded by large, dense trees.
- Away from the road, from dwellings and above all from other poultry farms.
- Water available all year round (borehole, well or mains) and access suitable for feed deliveries, even in the rainy season.
- A fenced farm with a single entrance, and no other poultry on the same farm.
Based on Cobb (Broiler Management Guide)
Orient the house on an east–west axis: the long sides face north and south. The morning and evening sun then strikes the short gable ends, and the long mesh sides stay in the shade of the roof during the hottest hours. A house built north–south takes the full sun on its open sides: the birds crowd into the shade, eat less and suffer from the heat.
Distances and surroundings
| Item | Benchmark |
|---|---|
| Along the long sides | 10 to 15 m kept clear of dense trees and buildings, so the wind can reach the house |
| Between two houses | At least 15 to 20 m, houses placed side by side rather than one behind the other |
| Immediate surroundings | Clear ground, no tall grass, rubbish or old equipment where rats can hide |
| Feed store | A separate room away from the bird house, closed, dry and protected from rain |
| Changing room, toilets, hand washing | At the farm entrance, outside the bird house |
NEXTEKCI School benchmarks; surroundings and changing room: Cobb (Broiler Management Guide)
Take a compass (or the compass app on your phone) on the day you mark out the house on the ground: the orientation cannot be corrected once the posts are in.
2. Dimensions and stocking densities
A house is sized for the birds at selling age (or in lay), never for day-old chicks that fit into one corner. Density depends on the type of bird and on the heat: in an open-sided house, in the Ivorian climate, stay on the cautious side.
Recommended densities in an open-sided house
| Production | Birds per m² of floor | Benchmark |
|---|---|---|
| White broilers, sold at around 35 to 45 days | 8 to 10 | Never more than 30 kg of chicken per m² in a naturally ventilated open-sided house |
| Coloured and hybrid chickens | 6 to 8 | Fewer if you keep them up to 12 weeks |
| Chicks and pullets on the floor | 20 up to 4 weeks, then 10 up to 17 weeks | Hot-climate benchmarks |
| Laying hens on the floor | 5 to 7 | 4 to 5 when it is 30 °C |
NEXTEKCI School benchmarks; maximum density in kg per m²: Cobb (Broiler Management Guide)
Floor area needed
| Flock size | White broilers (8 to 10 per m²) | Coloured and hybrids (6 to 8 per m²) | Laying hens on the floor (5 to 7 per m²) |
|---|---|---|---|
| 500 birds | 50 to 63 m² | 63 to 83 m² | 72 to 100 m² |
| 1,000 birds | 100 to 125 m² | 125 to 167 m² | 143 to 200 m² |
| 5,000 birds | 500 to 625 m² | 625 to 833 m² | 715 to 1,000 m² |
Calculation: flock size divided by density. Usable area, excluding store and corridor.
Example houses
| Project | Target usable area | Example dimensions |
|---|---|---|
| 500 broilers | 50 to 63 m² | 6 m × 10 m (60 m²) |
| 1,000 broilers | 100 to 125 m² | 8 m × 15 m (120 m²) |
| 5,000 broilers | 500 to 625 m² | 10 m × 55 m (550 m²), or two houses of 10 m × 30 m |
| 1,000 laying hens on the floor | 143 to 200 m² | 10 m × 20 m (200 m²) |
Width: 10 to 12 m at most for a naturally ventilated house. Beyond that, the air in the middle is no longer renewed; ammonia, humidity and respiratory diseases set in. To expand, make the house longer or build a second one, but do not make it wider.
Measure the area the birds can really use (excluding the store, the corridor and the entrance lobby) before stating a capacity. In the hot season, or if you sell heavy birds, take the lower end of the range: too many birds per m² means more heat, more mortality and wet litter.
3. Roof, overhang, dwarf walls, mesh and curtains
The classic open-sided house in Côte d’Ivoire: a low dwarf wall, mesh along the full height of the sides, a pitched roof with a generous overhang, and curtains (tarpaulins) that are opened and closed according to the time of day and the weather.
Key measurements
| Item | Benchmark | Why |
|---|---|---|
| Dwarf wall | About 0.50 m high | Stops driving rain and predators without blocking the airflow |
| Roof overhang | About 1.25 m | Shades the sides and keeps the rain out |
| Height under the roof at the side walls | 2.5 to 3.5 m | Keeps the heat from the metal sheets away from the birds and helps air move |
| Top of the curtain | Overlaps the solid part by at least 15 cm | No air leaking over the top of the curtain |
| Outside mini-curtain | About 25 cm, fitted at the top of the wall, under the eaves | Stops leaks over the top even better |
Source: Cobb (Broiler Management Guide); height under the roof: NEXTEKCI School benchmark
The roof
- A light-coloured or reflective outer surface: it sends back part of the sun’s heat.
- Insulation under the metal sheets if possible: it is the most useful insulation in the whole house, against the daytime heat as well as the cool nights during brooding.
- A pitched roof with a ridge opening (ridge vent) to let the hot air out.
- Gutters or a drainage channel at the foot of the walls to carry rainwater away from the house.
Based on Cobb (Broiler Management Guide)
Mesh and curtains
- Fine mesh along the whole length: it keeps out wild birds and rodents.
- Triple-hemmed curtains, well sealed at the bottom, with no holes or tears: repair them straight away.
- Curtains held in a pocket at both ends, so that no air passes round the sides.
- Curtains that can open from the top: essential during brooding, to renew the air without any draught at floor level.
Source: Cobb (Broiler Management Guide)
Poorly insulated house? For brooding, Cobb recommends a “mini-tent”: a false ceiling stretched from eave to eave and a second inner curtain 1 m inside the outer curtain, opening from the top only. The heat stays close to the chicks and the temperature varies far less between day and night.
4. Floor and litter
A smooth concrete floor, sloping slightly outwards, can be properly washed and disinfected between flocks. An earth floor carries germs from one flock to the next. Raise the floor of the house slightly above the surrounding ground and dig a channel all round it: a house whose base stands in water during the rainy season has permanently wet litter.
The three jobs of litter
- Absorbing moisture.
- Diluting droppings, to limit the birds’ contact with them.
- Insulating the birds from the cold floor.
Source: Cobb (Broiler Management Guide)
Minimum litter depth
| Material | Minimum depth | Comment |
|---|---|---|
| Rice hulls | 5 cm | A good choice, easy to find |
| Softwood shavings | 2.5 cm | Excellent absorbency |
| Dry sawdust | 2.5 cm | Often damp, risk of mould; chicks may eat it |
| Chopped straw | 1 kg per m² | Tends to cake in the first few weeks |
Source: Cobb (Broiler Management Guide)
These are minimums. In practice, in an open-sided house, spread 5 to 10 cm of shavings or rice hulls on a clean, disinfected and dry floor: deep litter absorbs better and insulates the chicks better from the floor.
The hand test: squeeze a handful of litter. It should stick together slightly, then break up when dropped. If it stays in a ball, it is too wet (above about 35% moisture): ammonia, foot burns and disease. Remove the wet patches and find the cause: drinker set too low, a leak, water pressure too high.
5. Natural ventilation
In an open-sided house, the wind does the ventilating and the curtains control it. Ventilation is needed at every age: it removes the heat, moisture, ammonia and carbon dioxide produced by the birds.
Air quality to aim for, at bird height
| Benchmark | Target |
|---|---|
| Ammonia | Below 10 ppm |
| Carbon dioxide | Below 3,000 ppm |
| Relative humidity | 45 to 65% |
| Oxygen | Above 19.6% |
Source: Cobb (Broiler Management Guide)
Managing the curtains
- 1In the morning, check where the wind is coming from: open the curtain on the leeward side first.
- 2To renew the air faster, open the windward side about four times less than the leeward side.
- 3To slow down the incoming air, do the opposite: windward side open about four times more than the leeward side.
- 4For maximum airflow over the birds (strong heat, broilers over 28 days), open both sides equally, as low as possible.
- 5Up to 14 days, renew the air by opening from the top, never with a draught at chick level.
Source: Cobb (Broiler Management Guide)
Installing circulation fans
| Point | Benchmark |
|---|---|
| Size | At least 90 cm in diameter |
| Height | About 1 m above the floor |
| Position | No more than 1 m from the side wall, at dwarf-wall height, angled at about 60° to the wall |
| Reach | A 90 cm fan pushes air about 12 m: space them about 12 m apart |
| Direction | The best layout blows air across the house, in the direction of the prevailing wind |
Source: Cobb (Broiler Management Guide)
During the hot hours, walk gently through the house: the birds get up, air moves around them and they go to drink. Also lift the feeders about 6 hours before the hottest time of day.
6. Water: storage and drinkers
Without enough water, a chicken eats less and does not grow. Water is part of the house: a reserve, a clean installation and enough drinking points for every bird to drink without waiting.
Water storage
- A reserve equal to at least 48 hours of peak consumption, in case of pump failure or a supply cut.
- Tank or water tower in the shade: warm water makes birds drink less.
- A closed tank, drained and cleaned between flocks.
- A water meter on the supply: a drop in water intake is often the first sign of a problem.
Source: Cobb (Broiler Management Guide)
Water intake by temperature
| House temperature | Litres of water per 1 kg of feed |
|---|---|
| 20 °C | 2 litres |
| 26 °C | 2.5 litres |
| 37 °C | 5 litres |
Source: Cobb (Broiler Management Guide)
Worked example: at around 42 days, a broiler drinks about 0.36 litre a day in normal conditions (see the broiler chicken guide). So 1,000 broilers drink about 360 litres a day, and up to twice as much in very strong heat. For 48 hours, allow at least 750 litres, and double that to be safe in the hot season. For 1,000 laying hens at 30 °C (about 320 ml per hen per day), allow about 640 litres for 48 hours.
How many drinkers?
| Type | Benchmark | Per 1,000 birds |
|---|---|---|
| Brooding (mini-drinkers, fountain drinkers and bell drinkers) | 14 to 16 drinkers per 1,000 chicks in the brooding area | 14 to 16 |
| Bell drinkers (older birds) | 1 bell drinker per 80 to 100 broilers, and at least 0.6 cm of rim per bird | 10 to 13 |
| Low-flow nipples (50 to 60 ml per minute) | About 10 broilers per nipple | About 100 |
| High-flow nipples (80 to 90 ml per minute), with drip cup | About 12 broilers per nipple | About 84 |
| Laying hens on nipples | 1 nipple per 10 hens at 30 °C (1 per 20 at 25 °C) | About 100 at 30 °C |
Source: Cobb (Broiler Management Guide); bell drinkers and laying hens: NEXTEKCI School benchmarks
Setting drinkers correctly
- No bird should have to walk more than 3 m to drink; nipples no more than 35 cm apart.
- Bell drinkers: rim level with the birds’ backs, ballasted so they do not tip over, cleaned every day.
- Water level in a bell drinker: 0.5 cm below the rim on day one, then about 1.25 cm (the depth of a thumbnail) after 7 days.
- Nipples: at the chicks’ eye level for the first 2 to 3 hours, then just above their heads; the bird stretches its neck slightly, feet flat on the floor.
- Pressure set so that a droplet hangs at the end of the nipple without dripping. Wet litter under the drinkers: set too low or pressure too high.
Source: Cobb (Broiler Management Guide)
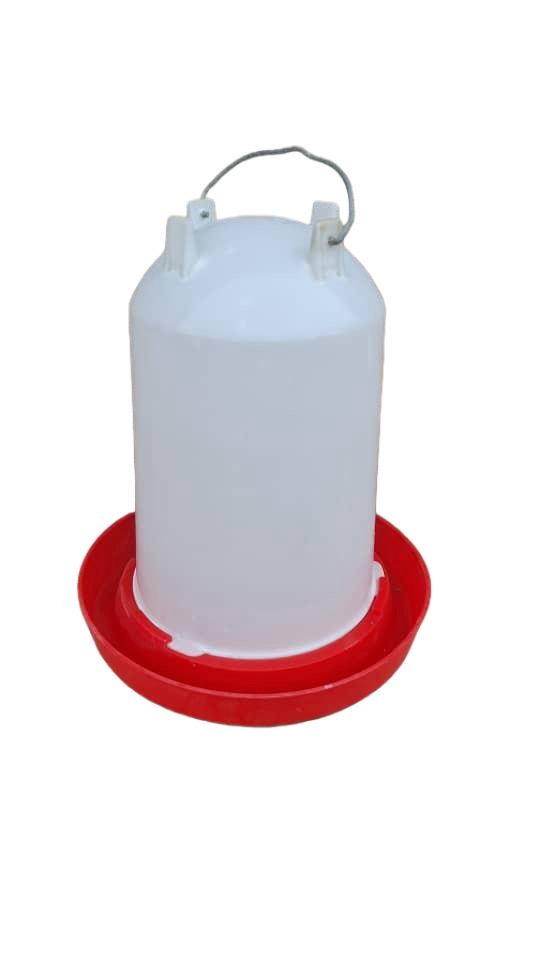
Chick drinker
- For the first few days
- Placed on the litter, barely raised
- Filled and cleaned every day
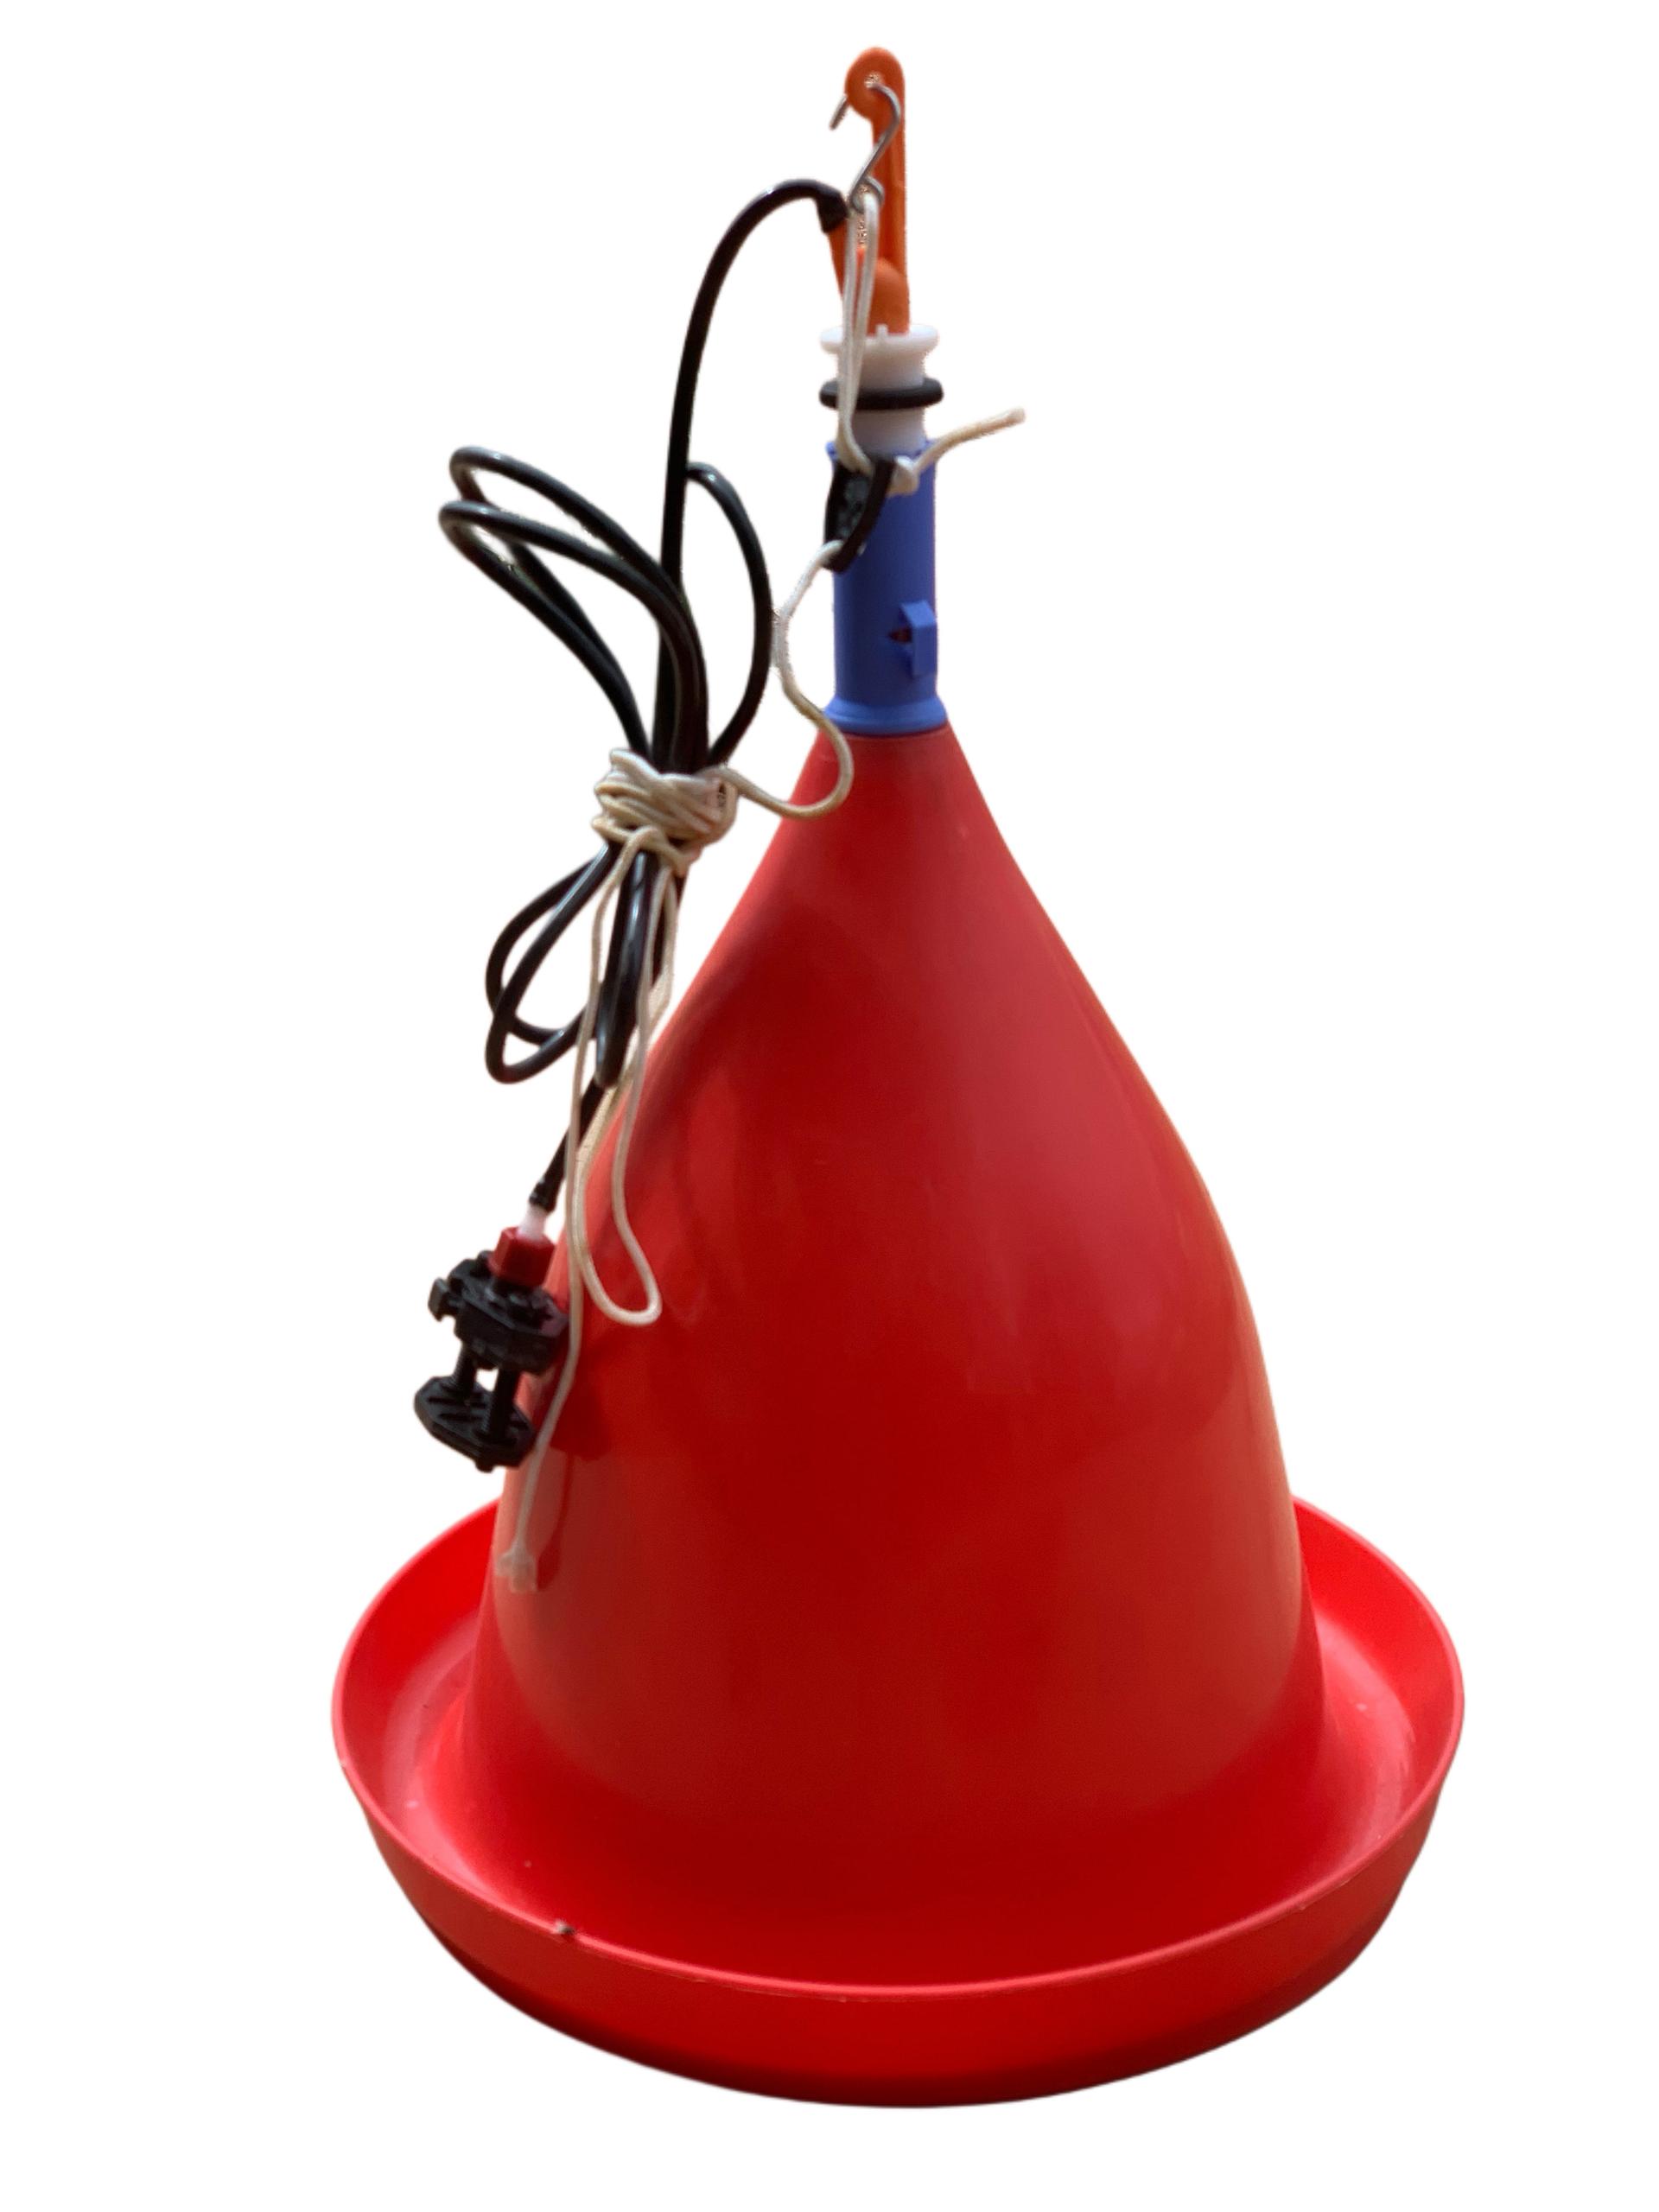
Automatic bell drinker
- Fed from the tank, level set by a float
- Rim level with the birds’ backs
- Ballasted and cleaned every day
Nipple drinkers (a closed system) keep the water cleaner and the litter drier than open drinkers, and do not need washing every day. However, check regularly that every nipple is actually delivering water: a quick glance is not enough.
7. Feeders
Feeder space is critical: if it is lacking, growth slows and the flock becomes uneven. Every bird must be able to eat without waiting, with feed close at hand.
How many feeders?
| Type | Benchmark | Per 1,000 birds |
|---|---|---|
| Brooding: trays, lids or paper (first 7 to 10 days) | 1 tray per 50 chicks; paper over at least half of the brooding area | 20 trays |
| Hanging hand-filled feeders (10 to 15 kg tube feeders) | 1 per 40 to 50 broilers | 20 to 25 |
| Automatic pan feeders (33 cm diameter) | 60 to 70 broilers per pan | 15 to 17 |
| Automatic chain feeder | At least 2.5 cm of feeder space per bird, counting both sides | At least 25 m of feeder space, i.e. about 12.5 m of track |
Source: Cobb (Broiler Management Guide); hand-filled feeders: NEXTEKCI School benchmark
Setting feeders correctly
- Feeder lip level with the birds’ backs, raised as they grow.
- Feeders never empty; feed level set to limit waste.
- During brooding: trays and paper between the water lines and near the brooders, never directly under the heat source; 50 to 65 g of feed per chick on the paper, topped up 3 times a day.
- Automatic pan feeders: 2 lines are enough in a house up to 12.8 m wide.
- Equipment alternated (feeder, drinker, feeder) so that no bird has more than 2 to 3 m to walk.
Source: Cobb (Broiler Management Guide)
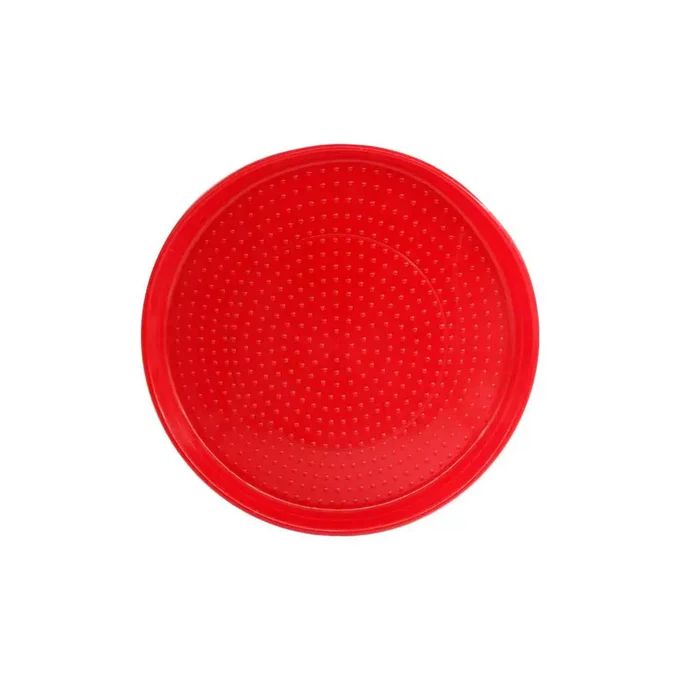
Chick feeder
- Brooding size, placed on the litter
- Limits feed waste
- For the first few weeks
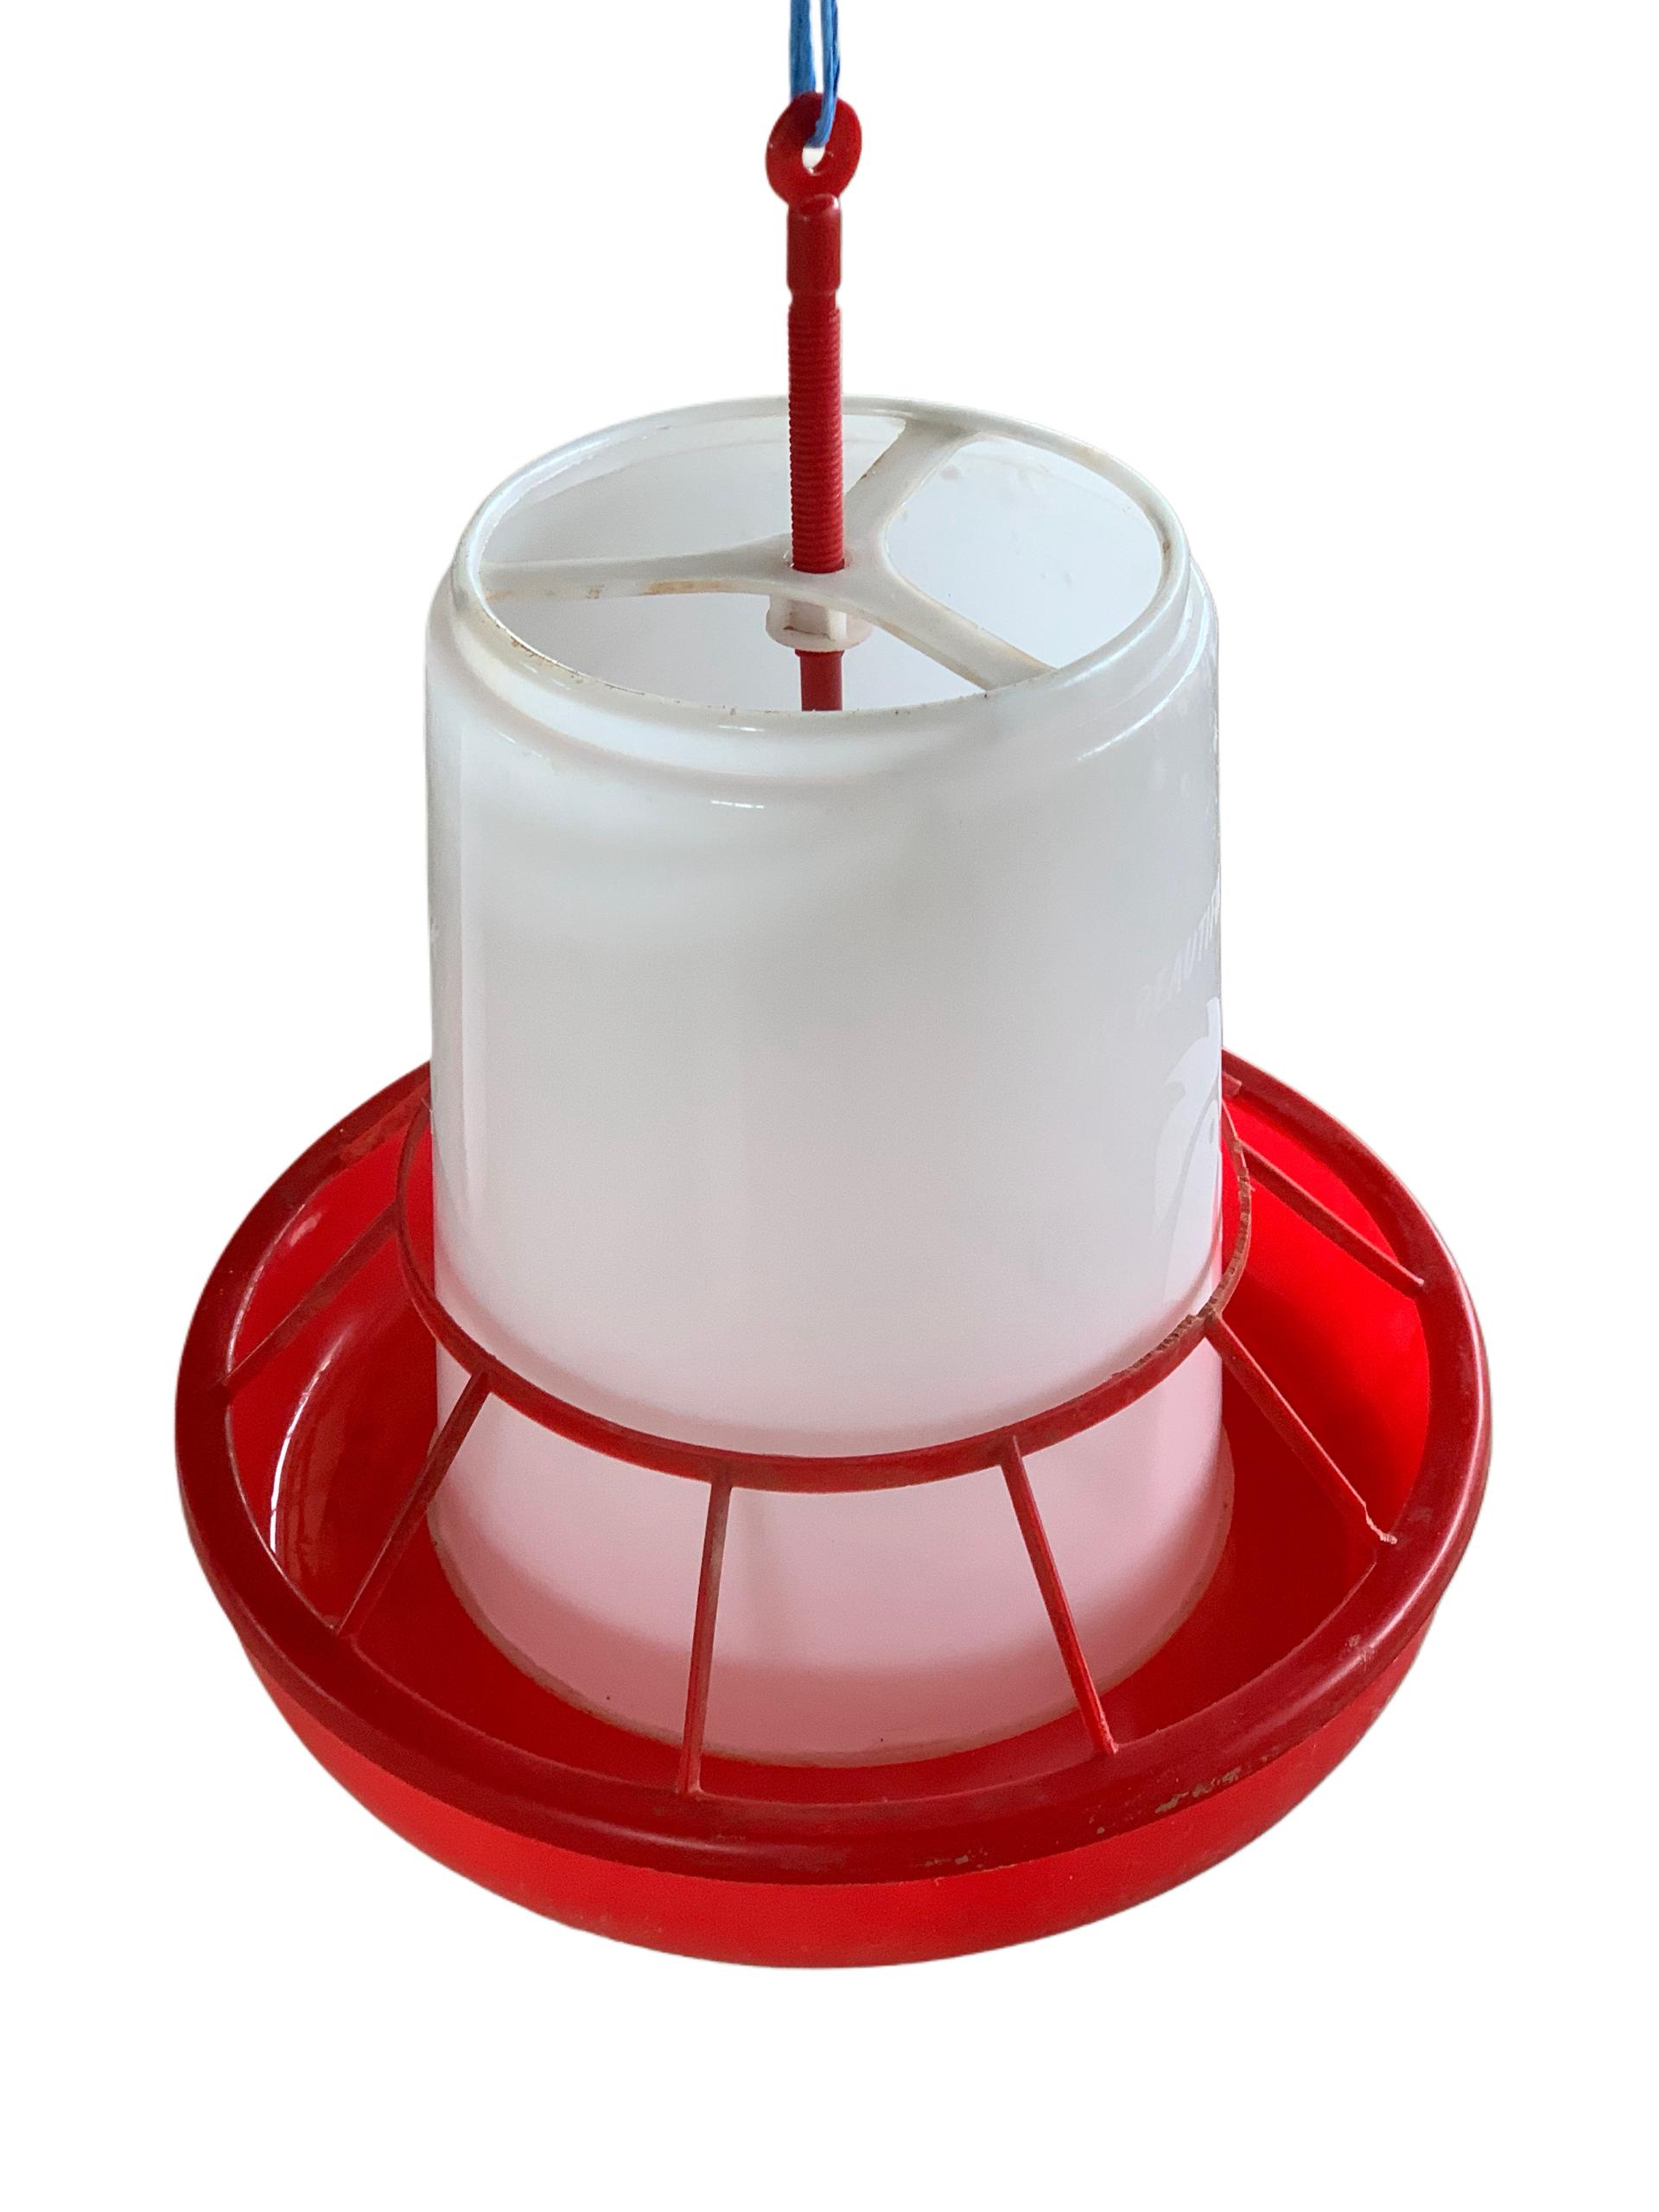
Hanging feeder
- Large capacity, hangs from the roof
- Raised every week to back height
- Never empty
Storing feed
- A feed store separate from the bird house, closed, dry, protected from rain and rats.
- Watertight bins and silos, cleaned between flocks, to prevent mould.
- A sample of every feed delivery kept until the flock is sold.
Based on Cobb (Broiler Management Guide)
If the birds tip the pans to reach the feed, they are set too high. If they scratch and throw feed on the floor, they are set too low.
8. Brooding heat
A chick cannot regulate its body temperature for the first 5 days, and not fully until 14 days. Even in Côte d’Ivoire, the nights are too cool for it: heating is part of the basic equipment of the house.
Heat sources
| Source | Advantages | Precautions |
|---|---|---|
| Gas brooder (radiant) | Heats the litter; chicks choose their spot; does not depend on electricity | Always a full spare gas bottle; height as recommended by the manufacturer |
| Electric infrared lamps | Easy to install | Depend on mains power: have a generator or another back-up |
| Charcoal | Available everywhere | Only in a closed stove, away from the litter, with the fumes vented outside: carbon monoxide kills without any smell |
Based on Cobb (Broiler Management Guide) and the NEXTEKCI School
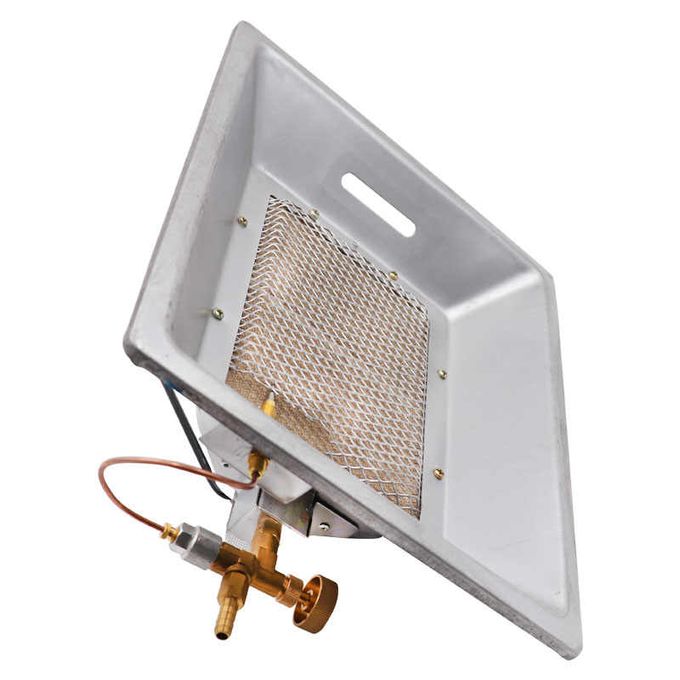
Temperatures when the chicks arrive
| Where to measure | Target |
|---|---|
| Floor of the brooding area | At least 32 °C |
| Floor directly under a radiant brooder | About 40 °C |
| Temperature variation over 24 hours | No more than 2 °C |
Source: Cobb (Broiler Management Guide)
The chick guard and partial-house brooding
- Chick guard (ring) made of cardboard, metal sheet or tarpaulin, 40 to 60 cm high: a ring 2.5 to 3 m across for 300 to 500 chicks, widened every day and removed at around 7 to 10 days.
- Partial-house brooding: about half the house up to 7 days, half to three quarters from 8 to 10 days, three quarters from 11 to 14 days, then the whole house.
- Division by a floor-to-ceiling curtain, with a solid 20 cm barrier on the floor in front of it, against draughts.
- Heat and ventilate the new section at least 24 hours before letting the chicks into it.
Based on Cobb (Broiler Management Guide); chick guard: NEXTEKCI School benchmark
Switch on the heating at least 48 hours before arrival: floor and air temperatures should be stable 24 hours beforehand. A minimum–maximum thermometer placed at chick height, in the centre of the brooding area, tells you what happened during the night.
9. Lighting
Light helps chicks find water and feed, then governs the birds’ activity. It must be spread evenly, with no dark corner where the weakest birds hide.
Light intensity
| Period | Intensity at bird level |
|---|---|
| Brooding (up to 7 days, or 160 g) | About 25 lux |
| Afterwards (broilers) | Gradually reduced to 5 to 10 lux |
Source: Cobb (Broiler Management Guide)
Installing the lighting
- Lamps spaced evenly along the whole length, pointing at the floor: light at floor level should not vary by more than 20% from one spot to another.
- Attraction lamps above the brooders for the first 5 days, then general lighting increased gradually up to 10 days.
- A reliable timer and a back-up in case of power cuts: in laying hens, a drop in light makes egg production fall.
- Bulbs cleaned and checked every week: a dirty bulb gives less light.
- Electrical installation protected from water and out of the birds’ reach.
Based on Cobb (Broiler Management Guide) and the NEXTEKCI School
Lighting programmes (hours of light and darkness by age) are set out in the broiler chicken and brown laying hen guides. In an open-sided house, daylight does most of the work: artificial lighting tops it up.
10. Weighing, monitoring and hygiene equipment
This small equipment costs little compared with the house itself, but it is what lets you spot a problem in time and keep germs out.
The essential small equipment
| Equipment | What it is for |
|---|---|
| Scale (hanging or flat), bucket or net | Weighing about 100 birds every week, at 3 places in the house |
| Minimum–maximum thermometer and thermo-hygrometer | Monitoring temperature and humidity at bird height, day and night |
| Water meter | Recording water intake every day at the same time |
| Footbath at the entrance to each house | Disinfecting boots every time you go in |
| Boots and clothing kept for the house | Keeping outside germs out |
| Hand washing or hand sanitiser | At the entrance to each house |
| Sprayer, detergent and disinfectant | Cleaning and disinfecting between flocks |
| Traps or bait stations | Permanent rat control |
| Pit or closed bin, away from the house | Disposing of dead birds every day |
| Logbook and flock records | Recording deaths, feed, water, temperatures, treatments and visitors every day |
Based on Cobb (Broiler Management Guide)
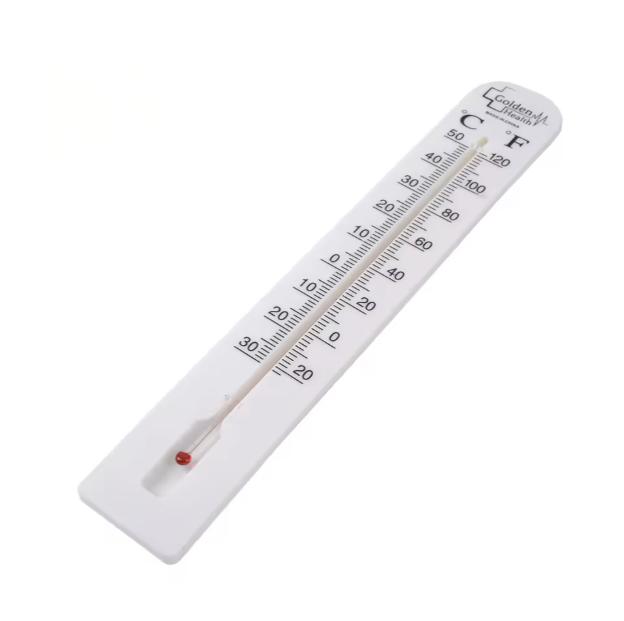
Thermo-hygrometer
- Temperature and humidity at a glance
- At bird height, not up in the air
- Essential during the first days
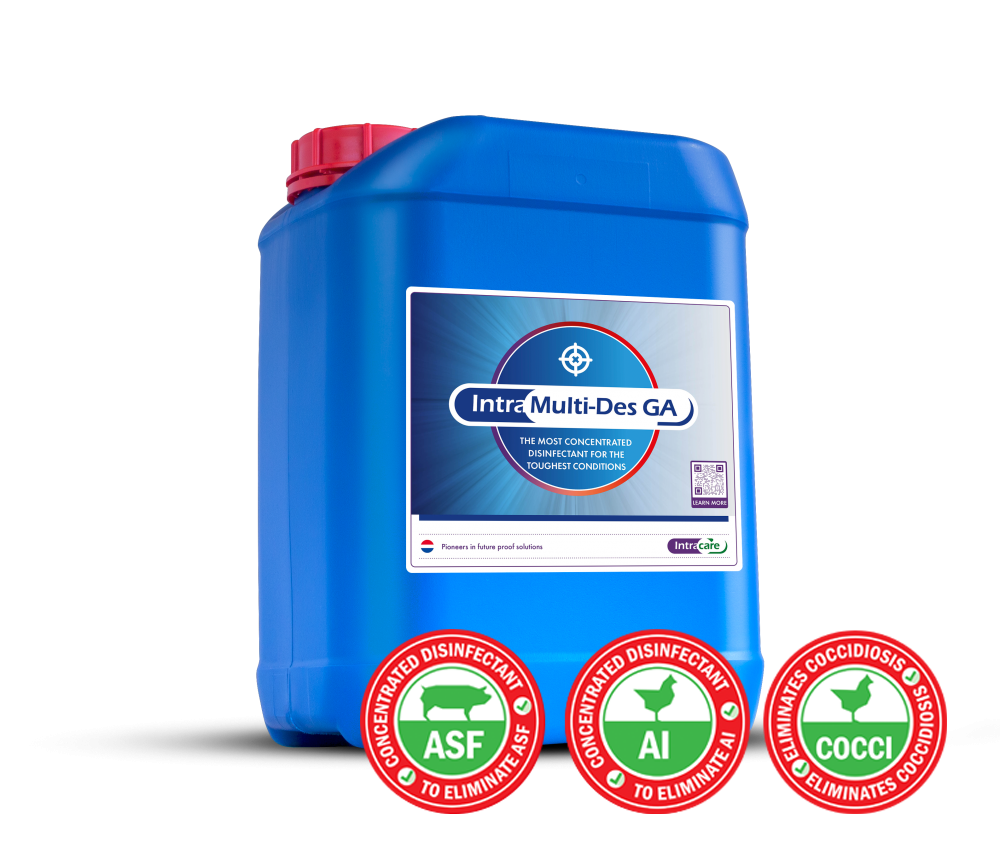
Disinfectants and biosecurity
- Footbath, surfaces and equipment
- Broad-spectrum product
- Always after cleaning with detergent
A footbath that really works
- A bath at the entrance to every house, maintained and refreshed regularly.
- Brush boots before dipping them: mud and droppings make the disinfectant ineffective.
- A broad-spectrum, fast-acting disinfectant, because contact time is short.
- At the farm entrance: a changing room and, if possible, a wheel dip or spray for vehicles.
Source: Cobb (Broiler Management Guide)
The visitors’ book is part of the equipment: who came in, when, and where they had come from. If disease breaks out, it helps trace the source.
11. Equipment for laying hens
A laying house follows the same rules as the others (orientation, density, water, air), with one extra piece of equipment: the nests. It must be ready, nests included, before the pullets arrive at around 16 to 17 weeks.
Benchmarks for floor-housed laying hens
| Equipment | Benchmark |
|---|---|
| Density | 5 to 7 hens per m²; 4 to 5 when it is 30 °C |
| Individual nests | 1 nest per 5 to 6 hens |
| Communal nests | 1 m² of nest per 80 to 100 hens |
| Nest height | 40 to 50 cm above the floor |
| Drinkers | 1 nipple per 10 hens at 30 °C |
| Feeders | Enough space for all the hens to eat at the same time |
NEXTEKCI School benchmarks and the brown laying hen guide
Setting up the nests
- Dark nests, lined with clean shavings or rice hulls, in the quietest part of the house.
- Nests in place, clean and lined, before the first eggs: a hen that gets used to laying on the floor keeps doing it.
- Dark corners closed off so the hens do not lay on the floor: aim for less than 2% floor eggs.
- Collect eggs 3 to 4 times a day, more often in strong heat.
Other equipment
- Perches: if you install them, place them over an area that is easy to clean, never above feeders or drinkers.
- A separate feeder for calcium (oyster shell or coarse limestone grit), given in the afternoon.
- A cool, shaded room for storing eggs, away from the hen house.
Plan the space for nests when you build: for 1,000 hens, allow about 170 to 200 individual nests (1 per 5 to 6 hens), or 10 to 13 m² of communal nests.
12. The checklist before the chicks arrive
Equipment is not added once the chicks have arrived. Go through this list with your farm technician before confirming the delivery time.
Everything must be ready
- 1House cleaned, disinfected and dry; down time between flocks respected.
- 2Roof, mesh and curtains repaired: no holes, no leaks, curtains well sealed at the bottom.
- 3Dry litter spread 5 to 10 cm deep; chick guard or house division in place.
- 4Heating checked and switched on at least 48 hours before; spare gas or back-up ready; floor at least 32 °C.
- 5Minimum–maximum thermometer at chick height, in the centre of the brooding area.
- 6Water reserve full (48 hours), lines flushed, 14 to 16 drinkers per 1,000 chicks filled with clean water.
- 7Trays or paper (1 tray per 50 chicks) and starter crumbs in stock.
- 8Lighting installed and tested (about 25 lux at floor level), timer set, power back-up ready.
- 9Scale, logbook and house record sheet ready; footbath filled at the entrance.
- 10Useful numbers on display: the local vet and the NEXTEKCI advisers.
Based on Cobb (Broiler Management Guide)
Buy and install equipment for the number of chicks ordered, not “to get started”: shortfalls in the first week are paid for in mortality and slower growth.
Need advice?
Our advisers answer on WhatsApp: +225 05 44 83 27 79 (information) · +225 07 07 72 78 67 (chick orders).